1. Combine Ingredients:
- In a medium-sized heavy-bottomed saucepan, combine the whole milk and granulated sugar. Stir the mixture over medium heat until the sugar is completely dissolved.
2. Add Butter and Simmer:
- Add the unsalted butter to the milk and sugar mixture. Continue to heat the mixture, stirring occasionally to prevent it from sticking to the bottom of the pan.
- Once the butter has melted, reduce the heat to low and let the mixture simmer gently. Do not allow it to boil vigorously, as this can cause the milk to scorch.
3. Stir and Cook:
- Let the mixture simmer on low heat for about 30-40 minutes, stirring occasionally. The milk will gradually thicken as it reduces. If using, add the salt during this step to balance the sweetness.
- After about 20 minutes of simmering, add the baking soda. This helps prevent the mixture from curdling and contributes to the smooth texture of the condensed milk.
4. Check Consistency:
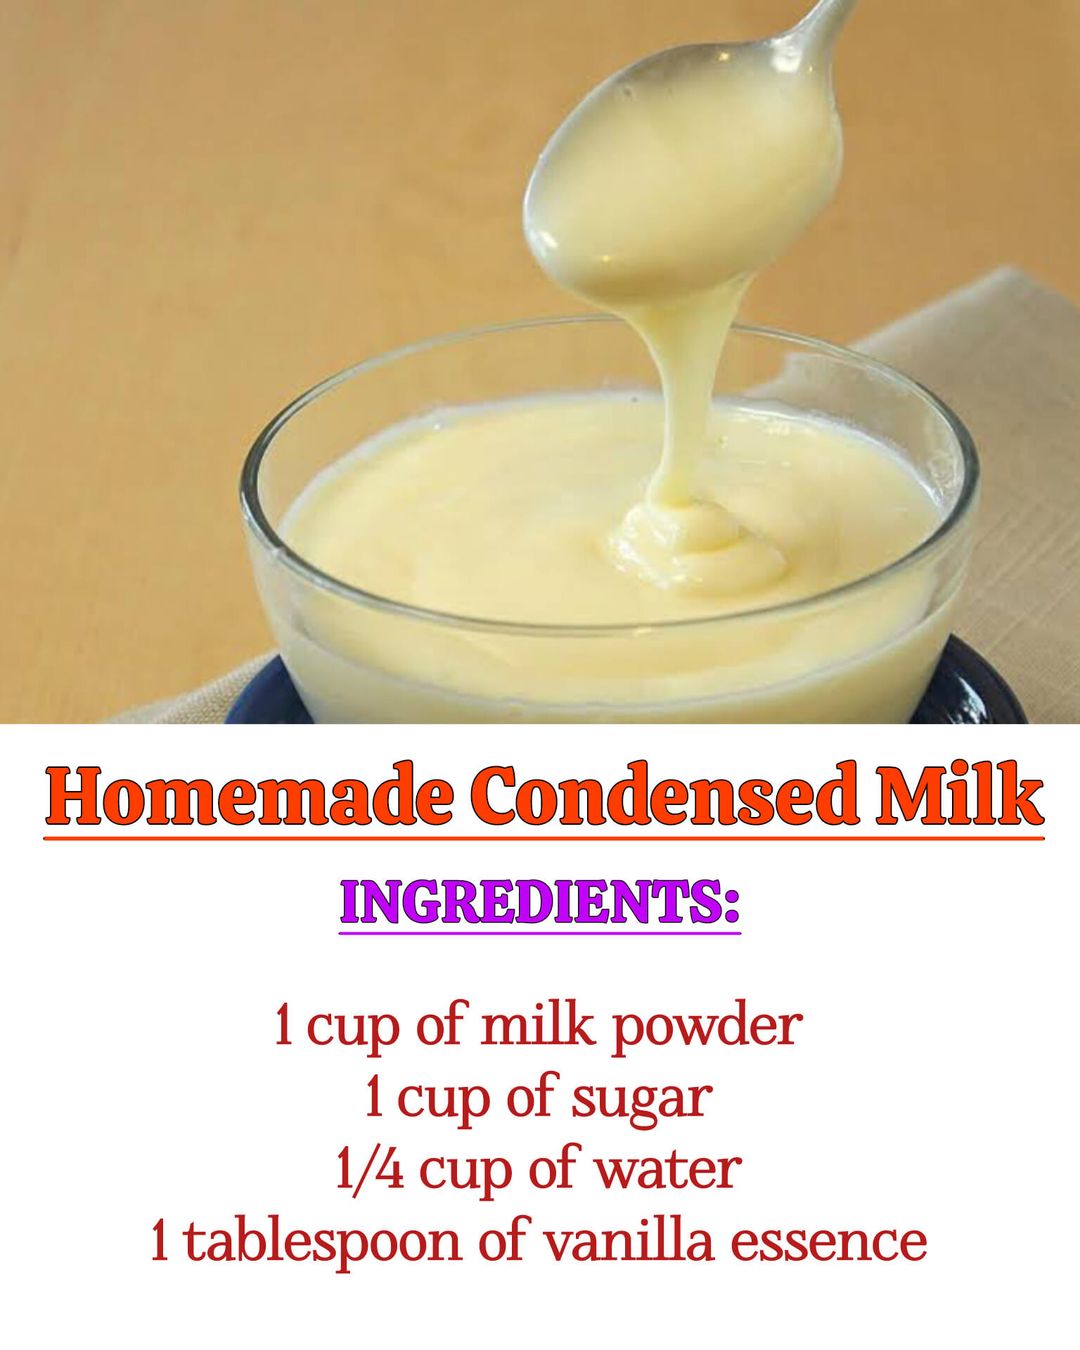
- As the milk reduces, it will become thicker and take on a slightly golden color. The consistency should be similar to store-bought condensed milk—thick enough to coat the back of a spoon but still pourable.
5. Cool and Store:
- Once the condensed milk has reached the desired consistency, remove the saucepan from the heat. Allow the mixture to cool for a few minutes in the pan.
- Transfer the condensed milk to a clean glass jar or airtight container. Let it cool completely before sealing the container.
6. Refrigerate:
- Store the homemade condensed milk in the refrigerator. It will thicken further as it cools. Homemade condensed milk can be stored for up to 1 week in the refrigerator.
Tips for Perfect Homemade Condensed Milk
- Use a Heavy-Bottomed Pan: A heavy-bottomed pan ensures even heat distribution and helps prevent the milk from burning.
- Stir Occasionally: Stirring occasionally prevents the milk from sticking to the bottom of the pan and ensures even thickening.
- Low and Slow: Keep the heat low to avoid scorching the milk. Patience is key for achieving the perfect consistency.
- Cool Completely: Let the condensed milk cool completely before using it in recipes or storing it. This allows it to reach the right texture.
Why Make Homemade Condensed Milk?
- No Preservatives: Homemade condensed milk is free from additives and preservatives, making it a healthier option.
- Customizable: You can adjust the sweetness or add a touch of vanilla for extra flavor.
- Cost-Effective: Making your own condensed milk can be more economical than buying it from the store, especially if you use it frequently.
Uses for Homemade Condensed Milk
- Baking: Use it in recipes like fudge, caramel, and sweet bread.
- Coffee: Add a spoonful to your coffee for a creamy, sweet treat.
- Desserts: Drizzle it over fruit, pancakes, or waffles for a decadent finish.
- Ice Cream: Use it as a base for no-churn ice cream.
Variations to Try
- Dairy-Free Version: Use coconut milk or almond milk instead of whole milk for a dairy-free condensed milk.
- Brown Sugar: Substitute granulated sugar with brown sugar for a deeper, caramel-like flavor.
This homemade condensed milk recipe is a game-changer for your kitchen. It’s rich, creamy, and perfect for a wide range of culinary uses. Enjoy the satisfaction of making this classic ingredient from scratch and savor the delicious results in your favorite recipes.
