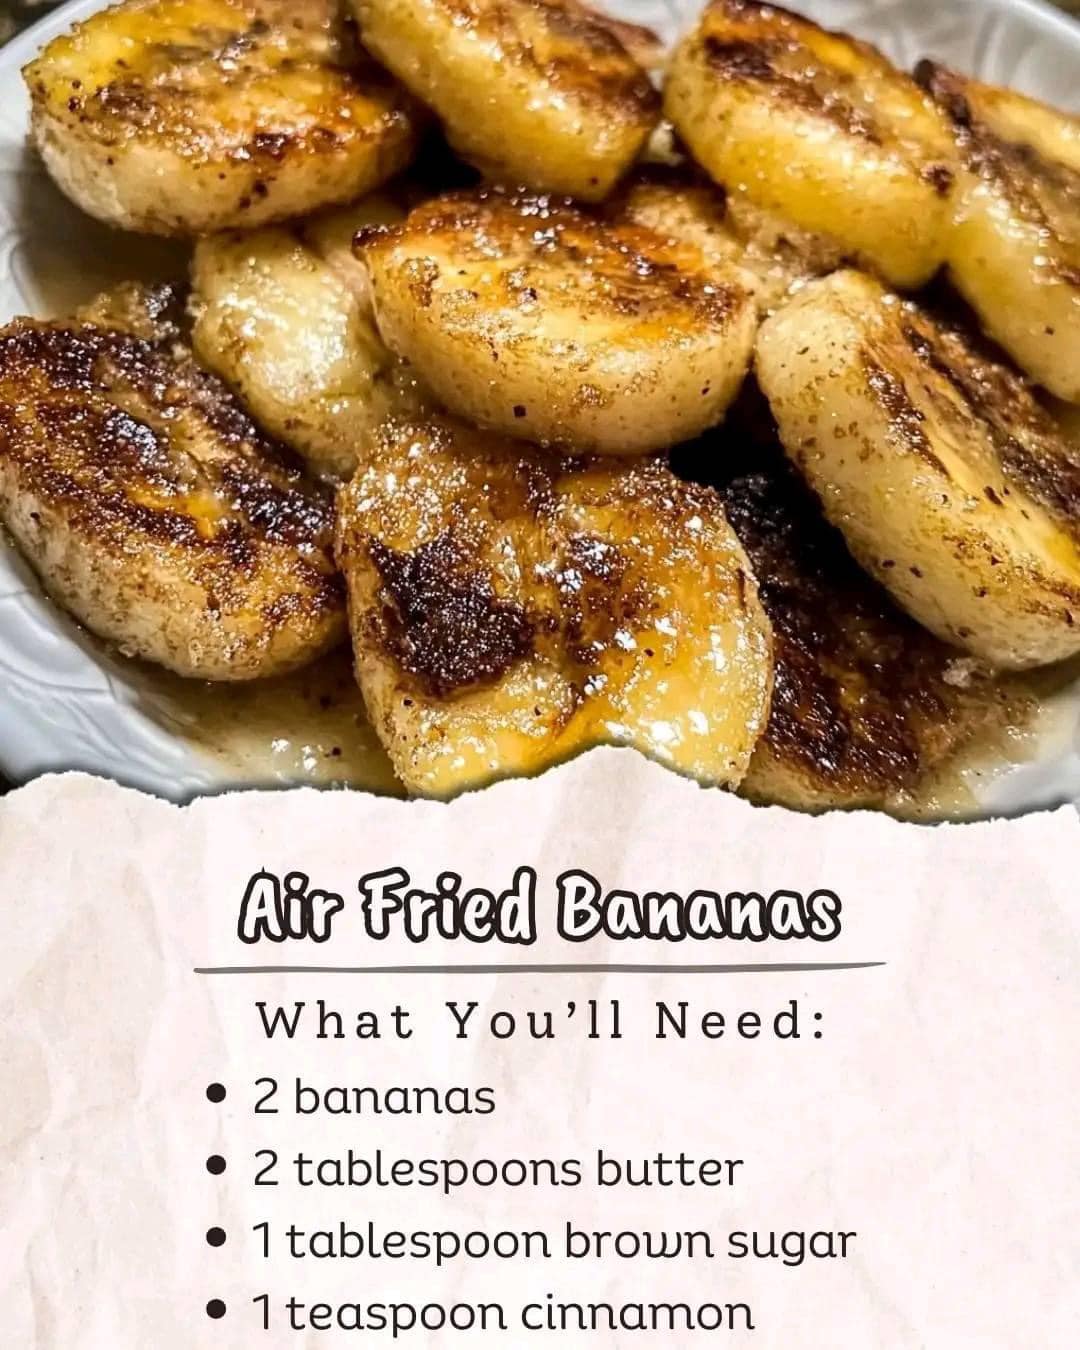
1. Prepare the Bananas
- Peel and Slice:
- Peel the bananas and cut them into slices about 1/2 inch thick. You can also cut them into half-moons or even into sticks if you prefer.
- Season:
- In a bowl, toss the banana slices with the olive oil or melted coconut oil until well coated. If you’re using cinnamon and/or brown sugar, sprinkle them over the bananas and toss again to coat evenly.
2. Air Fry the Bananas
- Preheat the Air Fryer:
- Preheat your air fryer to 350°F (175°C) for about 3-5 minutes, depending on your air fryer model.
- Arrange Bananas:
- Arrange the banana slices in a single layer in the air fryer basket. Avoid overcrowding to ensure even cooking. You may need to work in batches depending on the size of your air fryer.
- Cook:
- Air fry the bananas at 350°F (175°C) for 6-8 minutes. Shake the basket halfway through cooking to ensure even browning. The bananas should be golden brown and slightly crispy on the edges when done.
3. Serve
- Plate and Garnish:
- Remove the bananas from the air fryer and let them cool slightly. Serve them warm.
- Add Toppings:
- Top with fresh whipped cream or yogurt, chopped nuts, and a drizzle of chocolate or caramel sauce if desired. Fresh fruit like berries can also add a nice touch.
Tips for Success
- Banana Ripeness: Use bananas that are ripe but not overly soft. Overripe bananas may become mushy and not hold their shape well during air frying.
- Even Cooking: Ensure bananas are in a single layer and not overcrowded in the air fryer basket for best results.
- Adjust Sweetness: Feel free to adjust the amount of brown sugar or honey according to your taste preference or skip it for a less sweet option.
These Air Fried Bananas are a versatile treat that can be enjoyed on their own or as part of a more elaborate dessert. With their crispy edges and sweet, tender centers, they make for a satisfying and healthier alternative to traditional fried treats. Enjoy experimenting with different toppings and flavorings to make this simple recipe your own!
