1. Prepare the Ingredients
Start by preheating your oven to 375°F (190°C) and line a baking sheet with parchment paper or lightly grease it with cooking spray.
Open the can of biscuit dough and separate the biscuits. On a clean surface, flatten each biscuit into a 4-inch round circle using your hands or a rolling pin.
2. Stuff the Biscuits with Cheese
Place one cube of cheese in the center of each flattened biscuit. Fold the edges of the dough around the cheese, pinching them together to seal it completely. Gently roll the dough into a smooth ball, ensuring there are no gaps where the cheese could escape during baking.
3. Season the Cheese Bombs
In a small bowl, combine the melted butter, minced garlic, Italian seasoning, garlic powder, onion powder, and salt. Stir until the mixture is well-blended.
Using a pastry brush, generously coat each dough ball with the garlic butter mixture, making sure to cover all sides. Reserve any leftover garlic butter for later.
4. Bake the Cheese Bombs
Place the cheese-stuffed dough balls onto the prepared baking sheet, leaving about 2 inches of space between each one to allow for expansion as they bake.
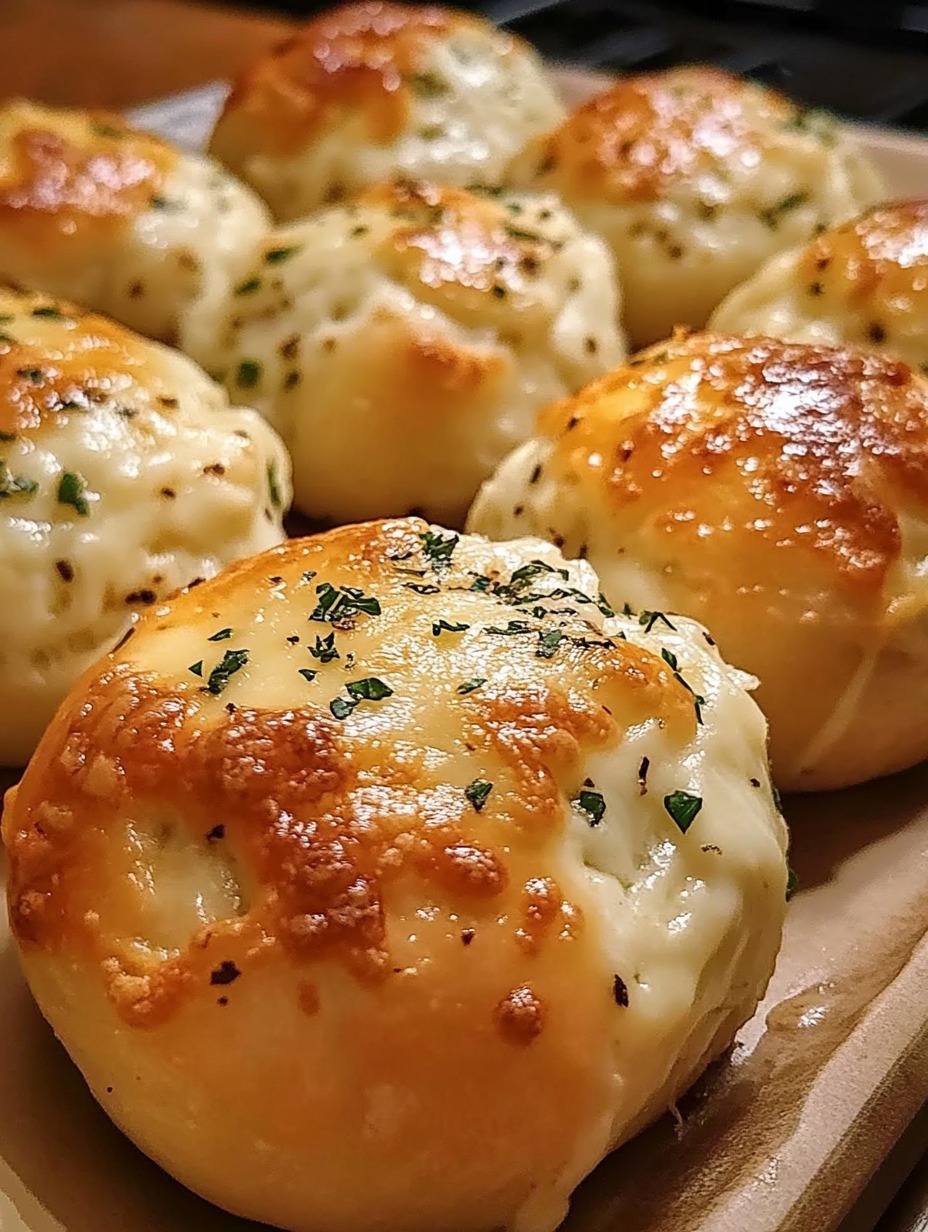
Bake in the preheated oven for 12-15 minutes, or until the bombs are golden brown and the cheese is starting to ooze out slightly.
5. Add the Final Touches
Once the cheese bombs are baked to perfection, remove them from the oven and brush them with any remaining garlic butter. If desired, sprinkle with freshly chopped parsley for a burst of color and added freshness.
Let them cool slightly before serving, as the cheese inside will be very hot.
Serving Suggestions
Garlic Butter Cheese Bombs are versatile and can be served in many ways:
- As an Appetizer: Serve them alongside marinara sauce or ranch dressing for dipping.
- With a Meal: They make a great accompaniment to soups, salads, or pasta dishes.
- As a Snack: Enjoy them on their own as a quick, satisfying snack any time of the day.
Tips for the Perfect Cheese Bombs
- Cheese Choices: Cheddar and mozzarella are classic choices, but feel free to experiment with other cheeses like pepper jack, gouda, or brie for a unique twist.
- Dough Variations: If you prefer, you can use crescent roll dough or even homemade dough instead of canned biscuits.
- Make Ahead: You can assemble the cheese bombs ahead of time and refrigerate them until you’re ready to bake. Just add a few extra minutes to the baking time if they’re chilled.
- Storage: Leftover cheese bombs can be stored in an airtight container in the refrigerator for up to 3 days. Reheat them in the oven or a toaster oven to regain their crispy exterior.
Conclusion
Garlic Butter Cheese Bombs are a delightful treat that combines the comforting flavors of garlic, butter, and cheese into one bite-sized package. Whether you’re hosting a party, preparing a family dinner, or just looking for a quick snack, these cheese bombs are sure to impress. With their crispy exterior, soft dough, and molten cheese center, they offer a taste explosion that’s hard to resist.
So, gather your ingredients and give this recipe a try. You’ll find that making these delicious cheese bombs is just as fun as eating them!
Tried this recipe? Let us know how it turned out in the comments below. Don’t forget to share any creative variations you tried!
