1. Prepare the Ingredients
Start by separating the eggs. Place the egg whites in one bowl and the yolks in another. Let them come to room temperature. This step is important because room-temperature egg whites whip up more easily and create a more stable meringue.
2. Make the Yolk Batter
In the bowl with the egg yolks, add the sugar, milk, and vanilla extract. Whisk until the mixture is pale and slightly thickened. Sift in the flour and baking powder, and gently fold until just combined. Be careful not to overmix, as you want to maintain the airiness of the batter.
3. Whip the Egg Whites
Now, it’s time to make the meringue. Using a hand mixer or stand mixer, beat the egg whites on medium speed until frothy. If you have cream of tartar, add it at this stage—it helps stabilize the egg whites. Gradually increase the speed to high and continue beating until soft peaks form. At this point, slowly add the sugar, one tablespoon at a time, and continue beating until stiff peaks form. The meringue should be glossy and hold its shape when you lift the beaters.
4. Combine the Yolk Batter and Meringue
This step is crucial for achieving the perfect texture. Start by adding one-third of the meringue to the yolk batter. Gently fold it in using a spatula. This initial incorporation will lighten the batter, making it easier to fold in the rest of the meringue. Add the remaining meringue in two more additions, folding gently each time until no streaks remain. The key is to fold, not stir, to preserve as much air as possible.
5. Cook the Pancakes
Preheat your non-stick skillet or griddle over the lowest possible heat. Lightly grease the surface with butter or oil. If you’re using molds, place them on the skillet and fill them with the batter, about three-quarters full. If not using molds, simply spoon the batter onto the skillet, forming small mounds.
Cover the skillet with a lid and cook the pancakes for about 4-5 minutes on the first side. The low heat and steam will ensure the pancakes cook through without burning the bottoms. Carefully flip the pancakes using a spatula, cover again, and cook for another 4-5 minutes. The pancakes should be golden brown on both sides and springy to the touch.
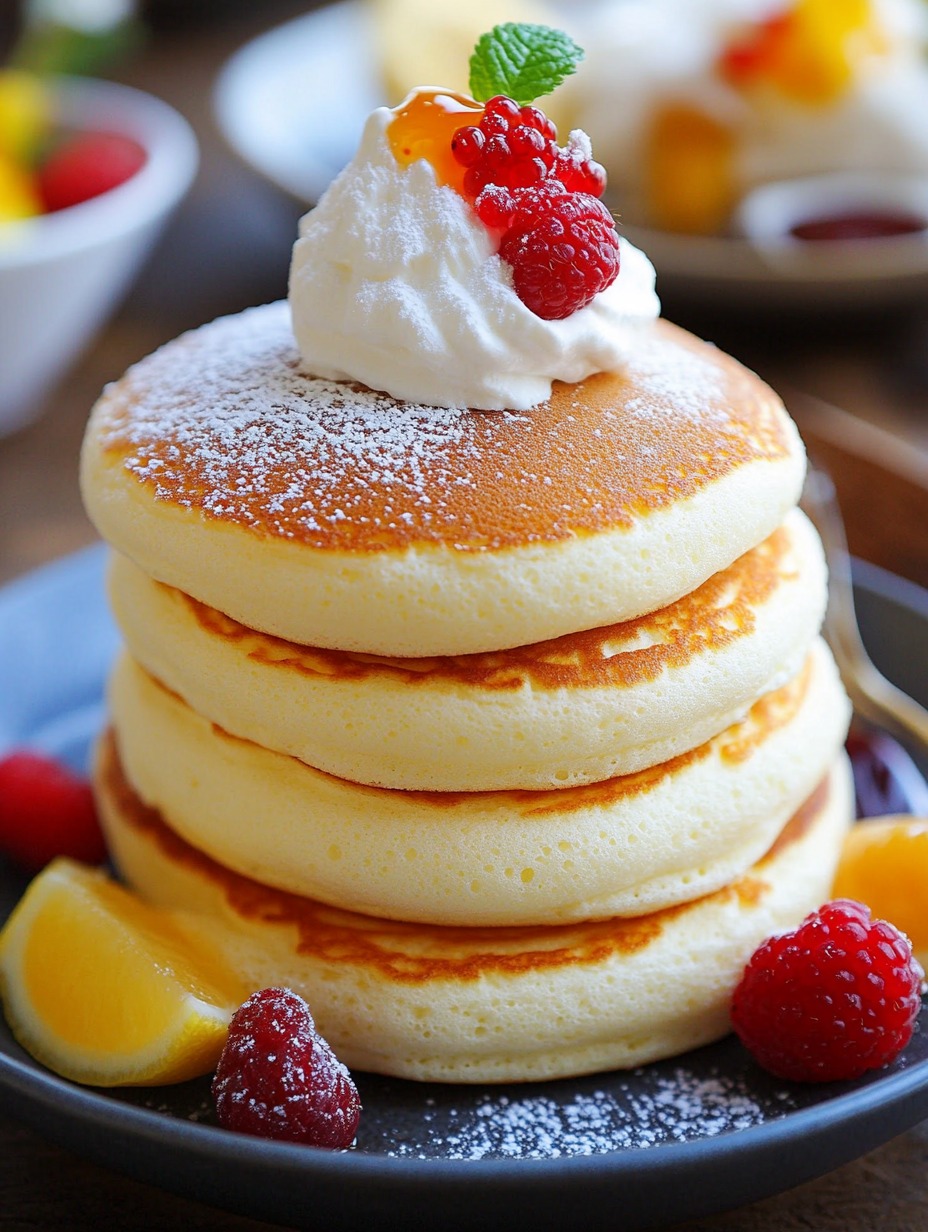
6. Serve and Enjoy
Transfer the pancakes to a plate and dust them with powdered sugar. Add a dollop of whipped cream and drizzle with maple syrup or your favorite fruit compote. These pancakes are best enjoyed immediately, while they’re still warm and fluffy.
Tips for Success
- Use Fresh Eggs: Fresh eggs whip up better than older ones, giving you a more stable meringue.
- Low and Slow Cooking: Japanese Soufflé Pancakes require patience. Cooking them over low heat ensures they cook through without deflating or burning.
- Don’t Overmix the Batter: Overmixing can deflate the meringue, resulting in flat pancakes. Gentle folding is key.
- Use a Lid: Trapping steam inside the skillet helps cook the pancakes evenly and keeps them moist.
Troubleshooting Common Issues
Pancakes Didn’t Rise: This can happen if the meringue wasn’t whipped to stiff peaks or if it was overmixed into the batter. Be sure to follow the instructions carefully.
Pancakes Burned on the Bottom: The heat might have been too high. Japanese Soufflé Pancakes need to be cooked on the lowest heat setting to cook through evenly.
Pancakes Deflated After Cooking: This is often due to overmixing the batter or opening the lid too often during cooking. Try to avoid these mistakes for the best results.
Conclusion
Mastering Japanese Soufflé Pancakes might take a bit of practice, but the reward is well worth the effort. With their light, airy texture and delicate flavor, these pancakes are a true breakfast indulgence that will impress anyone who tries them. By following this detailed guide, you’re well on your way to becoming a soufflé pancake pro. So, roll up your sleeves, grab your whisk, and get ready to create the fluffiest pancakes you’ve ever had. Enjoy!
Did you find this guide helpful? Let me know how your pancakes turned out! Share your thoughts, tips, or any tweaks you made in the comments below. Happy cooking!