1. Prepare the Yeast Mixture
In a small bowl, dissolve the sugar in the warm water. Sprinkle the yeast over the water and let it sit for about 5-10 minutes, until the mixture becomes frothy. This indicates that the yeast is active and ready to use.
2. Make the Dough
In a large mixing bowl, combine the flour and salt. Create a well in the center and pour in the yeast mixture along with the olive oil. If you’re using milk, add it at this stage for a softer crumb.
Mix the ingredients together until a sticky dough forms. You may need to adjust the flour or water slightly to get the right consistency. The dough should be soft but not too sticky.
3. Knead the Dough
Transfer the dough to a lightly floured surface and knead it for about 5-7 minutes, until it becomes smooth and elastic. If the dough is too sticky, add a little more flour as needed.
4. Let the Dough Rise
Place the dough in a lightly oiled bowl, covering it with a damp cloth or plastic wrap. Let it rise in a warm, draft-free area for about 1-1.5 hours, or until it has doubled in size.
5. Shape the Dough
After the dough has risen, punch it down to release any air bubbles. Transfer the dough to a floured surface and shape it into a loaf or divide it into smaller pieces, depending on your air fryer’s capacity.
If you’re making smaller rolls, shape the dough into 6-8 equal portions. For a larger loaf, shape it into a size that fits comfortably in your air fryer basket.
6. Preheat the Air Fryer
Preheat your air fryer to 350°F (175°C) for about 5 minutes. This ensures an even baking temperature.
7. Bake the Bread
Place the shaped dough into the air fryer basket. If you’re baking a loaf, ensure there’s enough space around it for air circulation. For rolls, arrange them in a single layer with a little space between each.
Brush the tops of the dough with melted butter and sprinkle with garlic powder and dried herbs if desired.
Air fry the bread at 350°F (175°C) for 15-20 minutes, or until the bread is golden brown and sounds hollow when tapped. The exact cooking time may vary depending on the size and thickness of the bread.
8. Cool and Serve
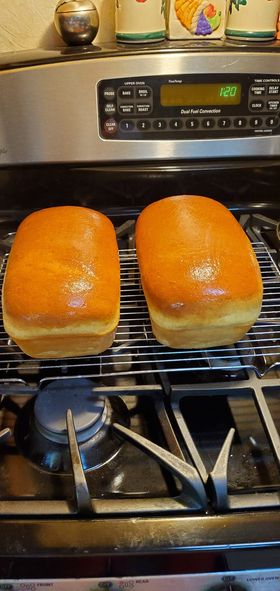
Once the bread is baked, carefully remove it from the air fryer and let it cool on a wire rack for at least 10 minutes before slicing. This helps to set the crumb and prevents the bread from becoming too dense.
Tips for Perfect Air Fryer Bread
- Check for Doneness: If you’re unsure whether the bread is done, use a digital thermometer. The internal temperature of the bread should be around 190°F (88°C).
- Avoid Overcrowding: If you’re baking multiple pieces of bread, avoid overcrowding the air fryer basket. Bake in batches if necessary to ensure even cooking.
- Flavor Variations: Feel free to experiment with different herbs, cheeses, or spices in your dough for a customized flavor. Adding cheese or olives can give your bread an extra punch of flavor.
Conclusion
Homemade bread in the air fryer is not only convenient but also yields delicious results with minimal effort. The air fryer’s ability to create a perfectly crisp crust and tender interior makes it an excellent tool for baking bread. With this easy recipe, you can enjoy fresh, warm bread anytime without needing a traditional oven.
So, gather your ingredients, fire up your air fryer, and enjoy the satisfying aroma and taste of homemade bread. It’s a simple pleasure that adds a touch of homemade goodness to any meal!
Tried this recipe? Let us know how it turned out in the comments below, and share your own tips and variations!
